Vendor types and state textures
Open Vendor → Settings to define reusable artwork placement for your object styles. For example, a single-panel display and an Event display may use different prims or faces.
Create a Vendor type
- Click Add Vendor type.
- Give the type a recognizable name, such as
NormalorEvent. - Enter the intended prim/link target and face, or choose the all-faces behavior offered by the form.
- Add other types only when they use a different placement.
- Click Save settings.
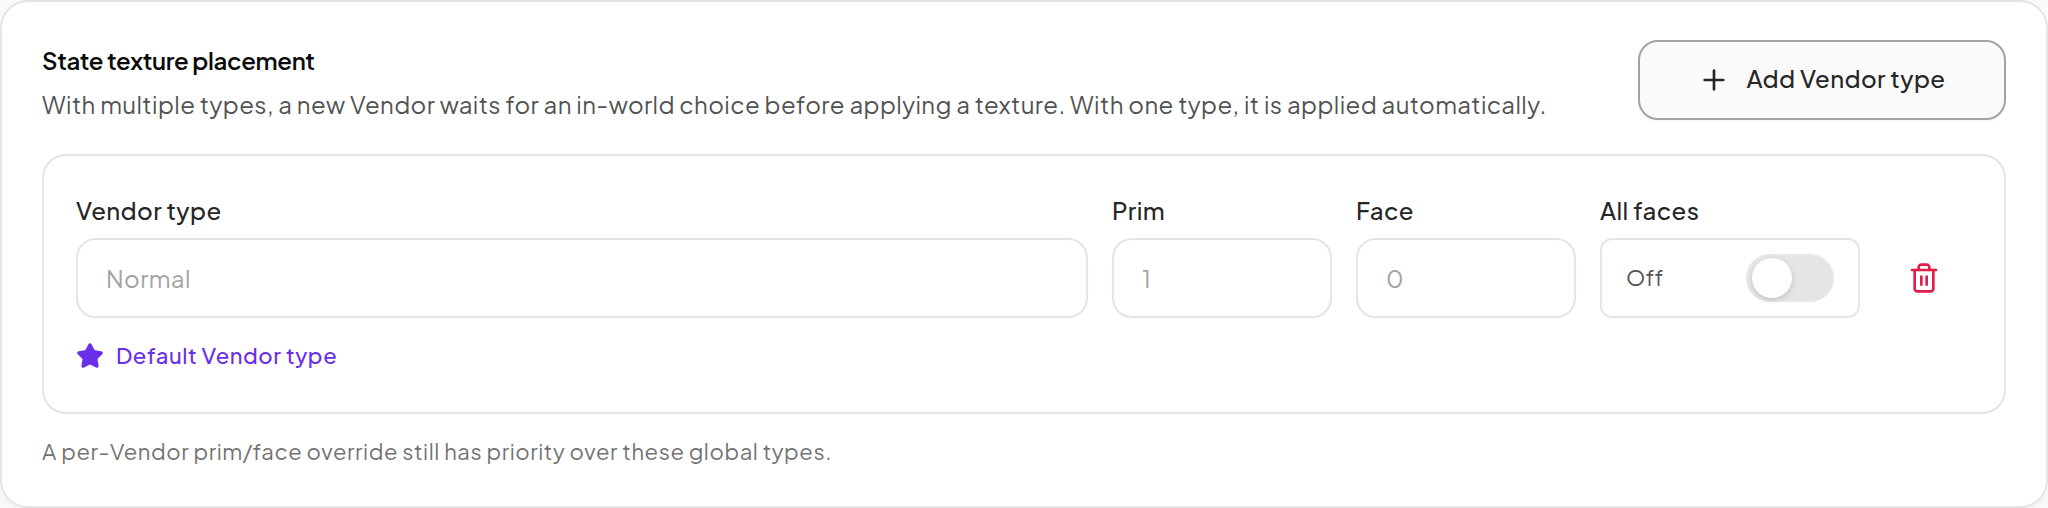
You can configure up to five types. Verify the prim and face in your Second Life object's edit tools; the dashboard cannot infer the intended advertising surface from the object's appearance.
How a new Vendor chooses a type
- With multiple types, the object asks its owner to choose one before applying the placement.
- With one type, it is applied automatically.
- With no types, the fallback targets the root prim's faces.
The choice can be changed through the in-world management flow. A complete per-Vendor placement override has priority over the global type.
Set state textures
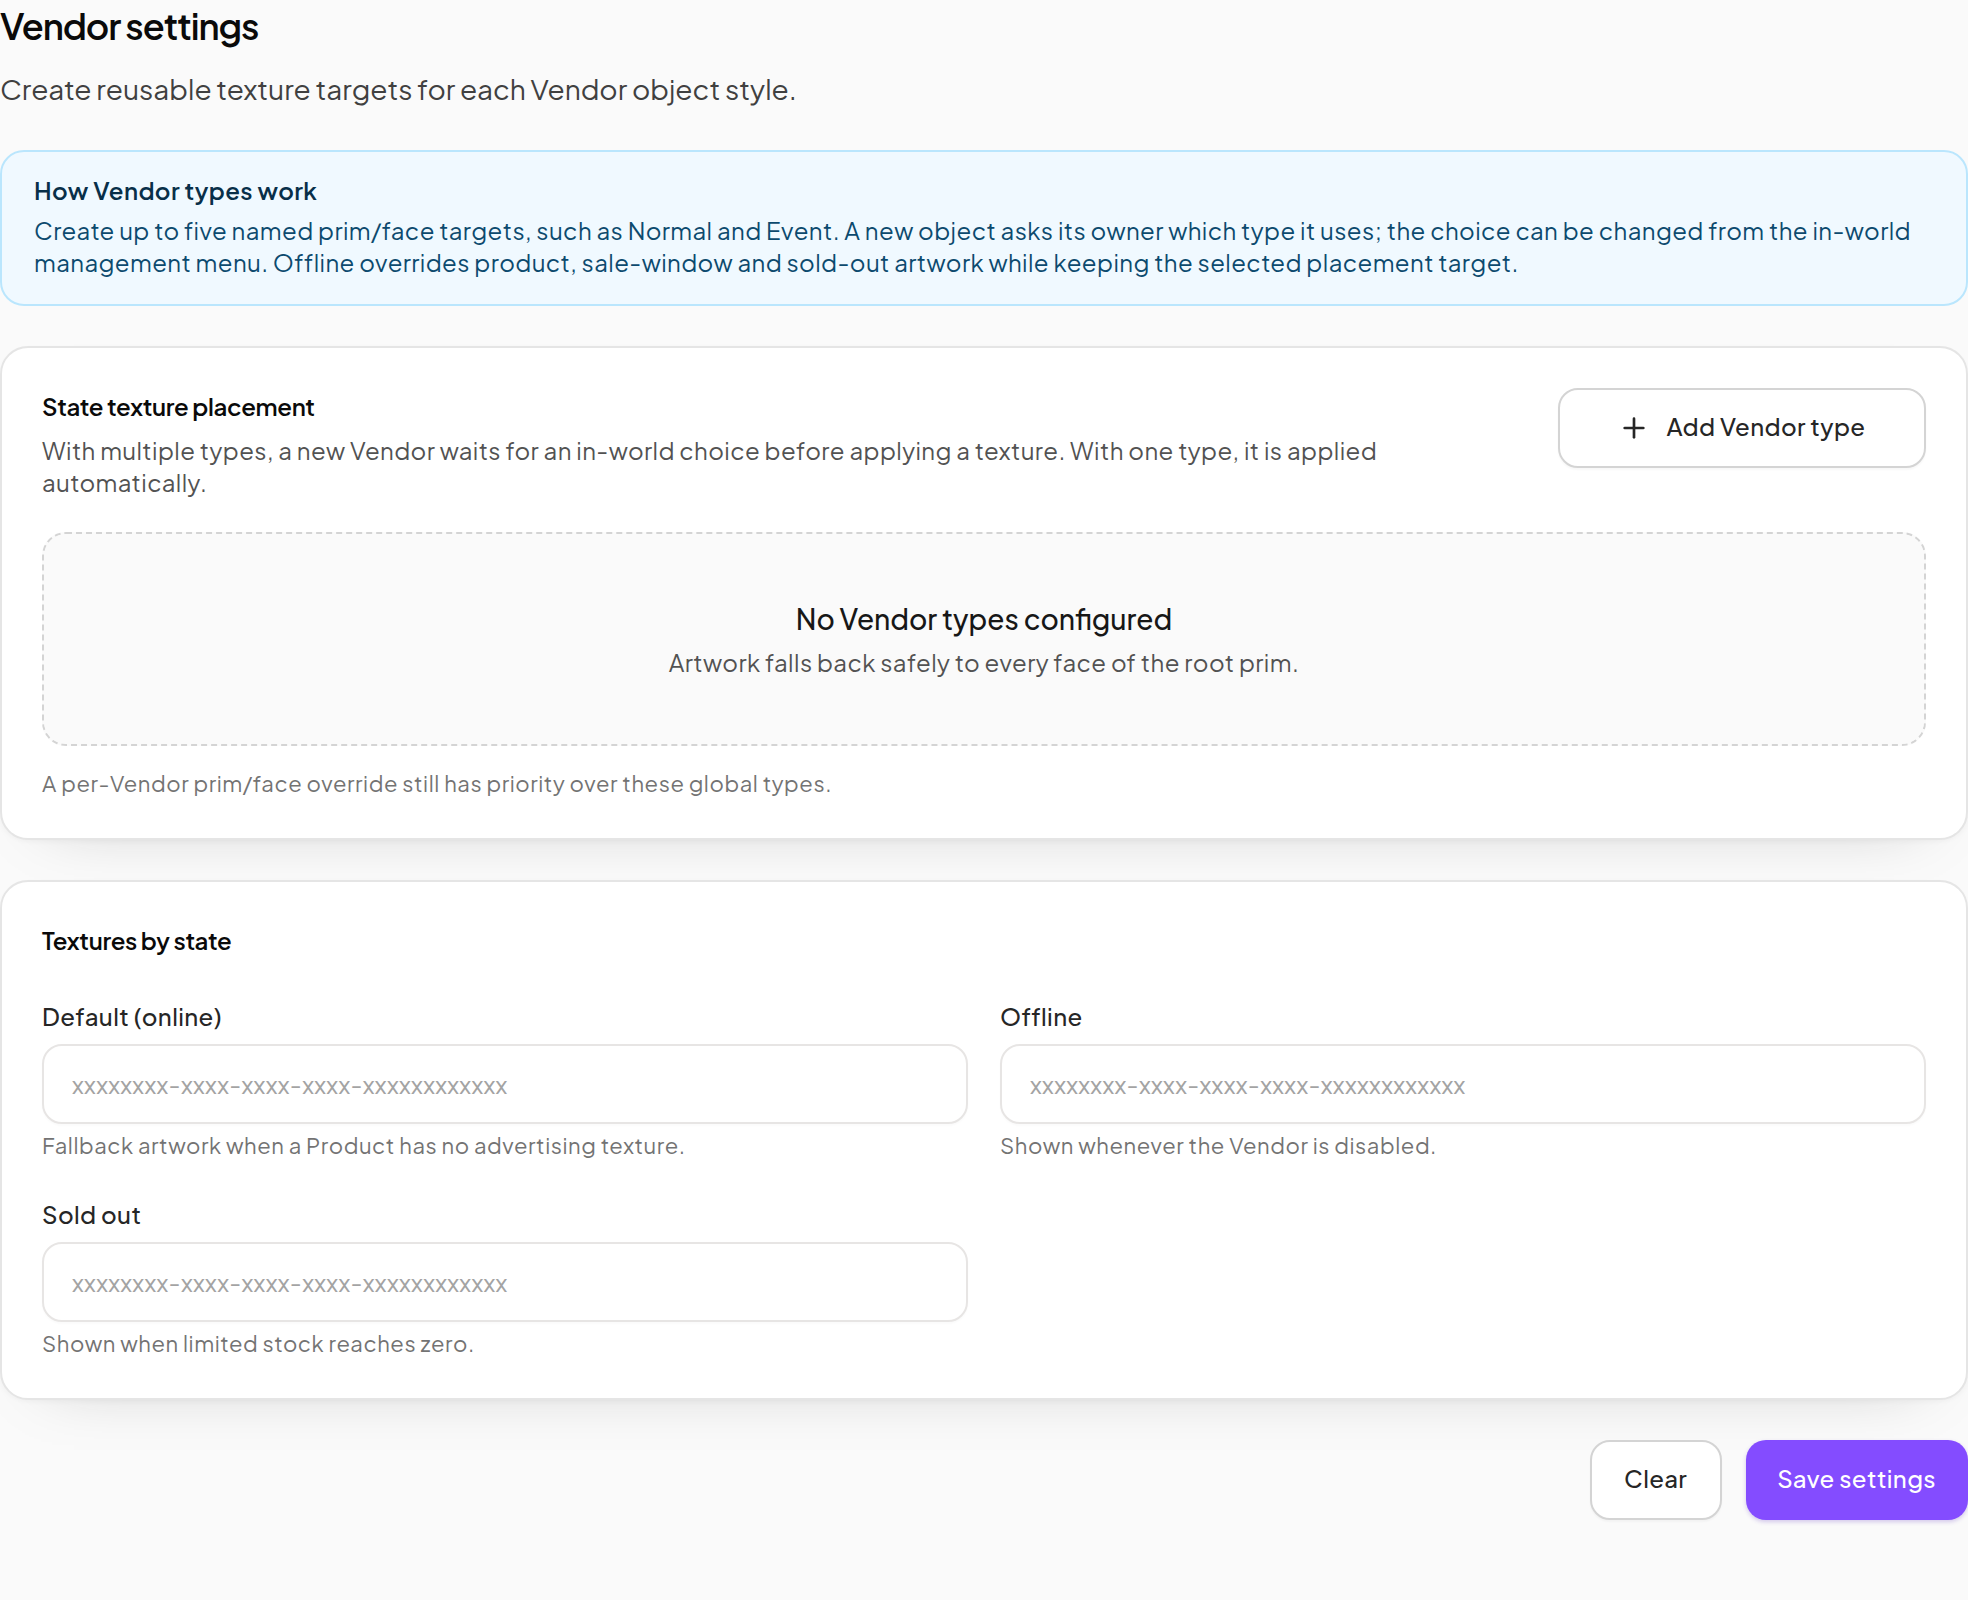
| State | When its artwork is used |
|---|---|
| Default (online) | Fallback when the Product has no advertising texture. |
| Offline | The Vendor is disabled/offline. |
| Sold out | Limited stock has reached zero. |
- Obtain the correct Second Life texture UUID for each desired state.
- Paste it into the appropriate field.
- Save the settings.
- Inspect one matching Vendor in each intended state.
Use actual texture UUIDs, not web image URLs. Product advertising and sale-window artwork are configured in the Product editor.
Priority and refresh
Offline state takes precedence over Product, sale-window and sold-out artwork. An empty offline texture does not create a new image, but the offline payment restriction still applies.
If an object is unreachable while you save, allow it to reconnect and refresh. Do not repeatedly replace scripts just to force an artwork change.