Events and rotating rounds
An Event defines a wall of one to five exact Vendors and its pricing and scheduling rules. A round supplies the incoming Products for that wall. This feature belongs to Vendor; it is separate from the CaveTech EventSale product.
Step 1: Configure the Event
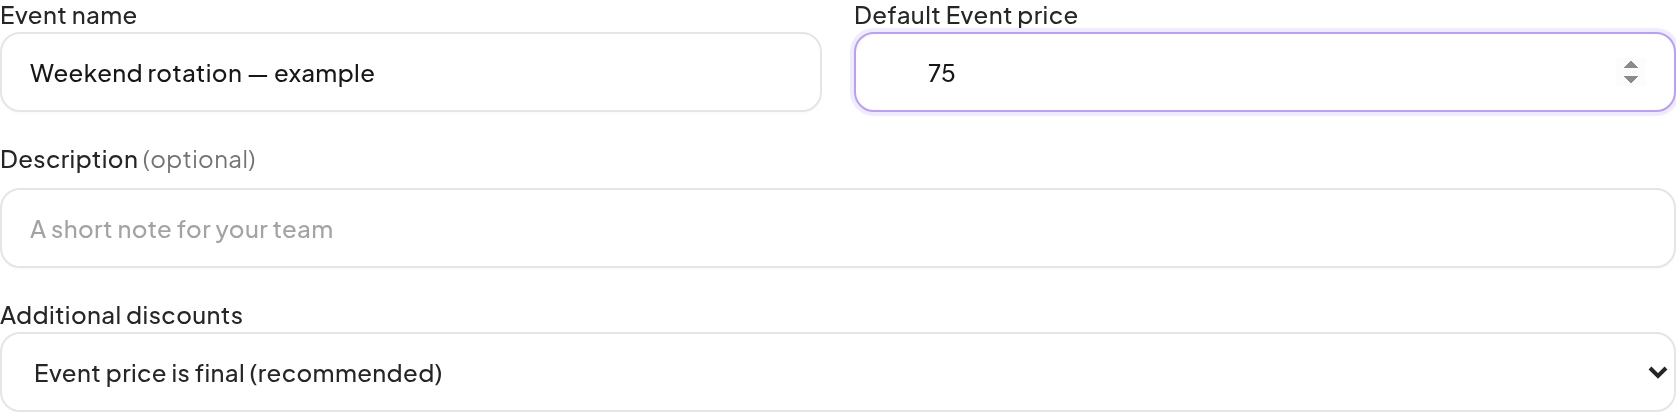
- Open Events and click New Event.
- Enter the Event name, default Event price and optional description.
- Choose the policy for additional discounts: final Event price, coupons, group discounts, or both.
Step 2: Define the wall
- In Vendor positions, choose the exact Vendor for position 1.
- Use Add position for additional displays, up to five.
- Optionally filter by a dashboard Vendor Group to find each object.
- Use the move controls to put the positions in the intended order.
- Choose what happens when a position has no Product: disable payments, or show that Vendor's regular Product.
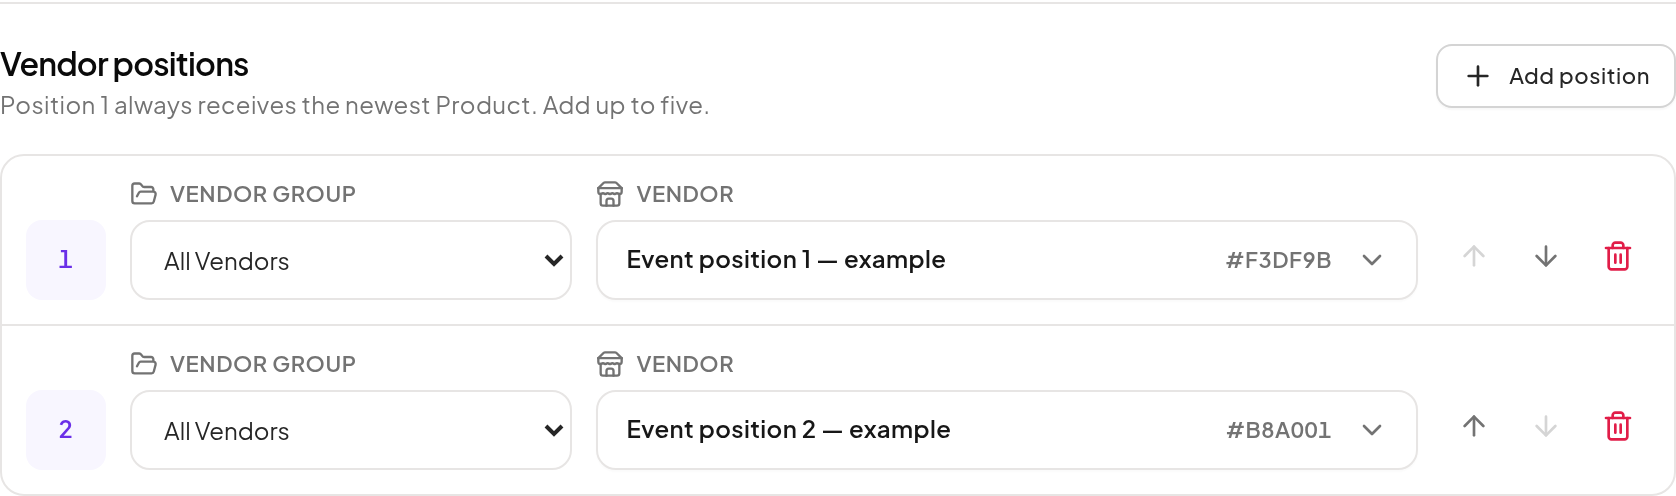
The group filter helps find an object; it does not assign the entire group. Review possible conflicts if another Event uses the same Vendors.
Step 3: Choose timing
Leave Recurring schedule off for a manual round that activates when published. Turn it on to configure start and end weekdays, times and an explicit timezone.
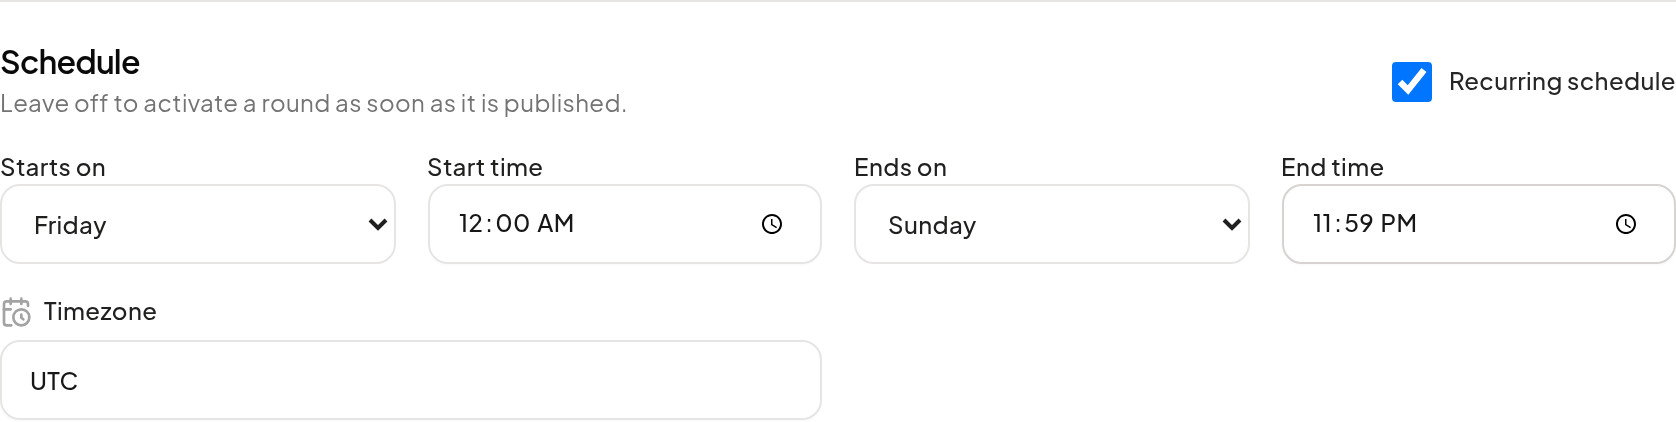
Check the schedule and empty-position behavior, then click Save Event. Saving the Event configuration does not replace a review of its next round.
Step 4: Prepare a round
- Select the Event and start New round.
- Select the Dropbox and Product for each incoming position.
- Review the Event price and select the required Event artwork.
- Inspect the wall preview before publishing.
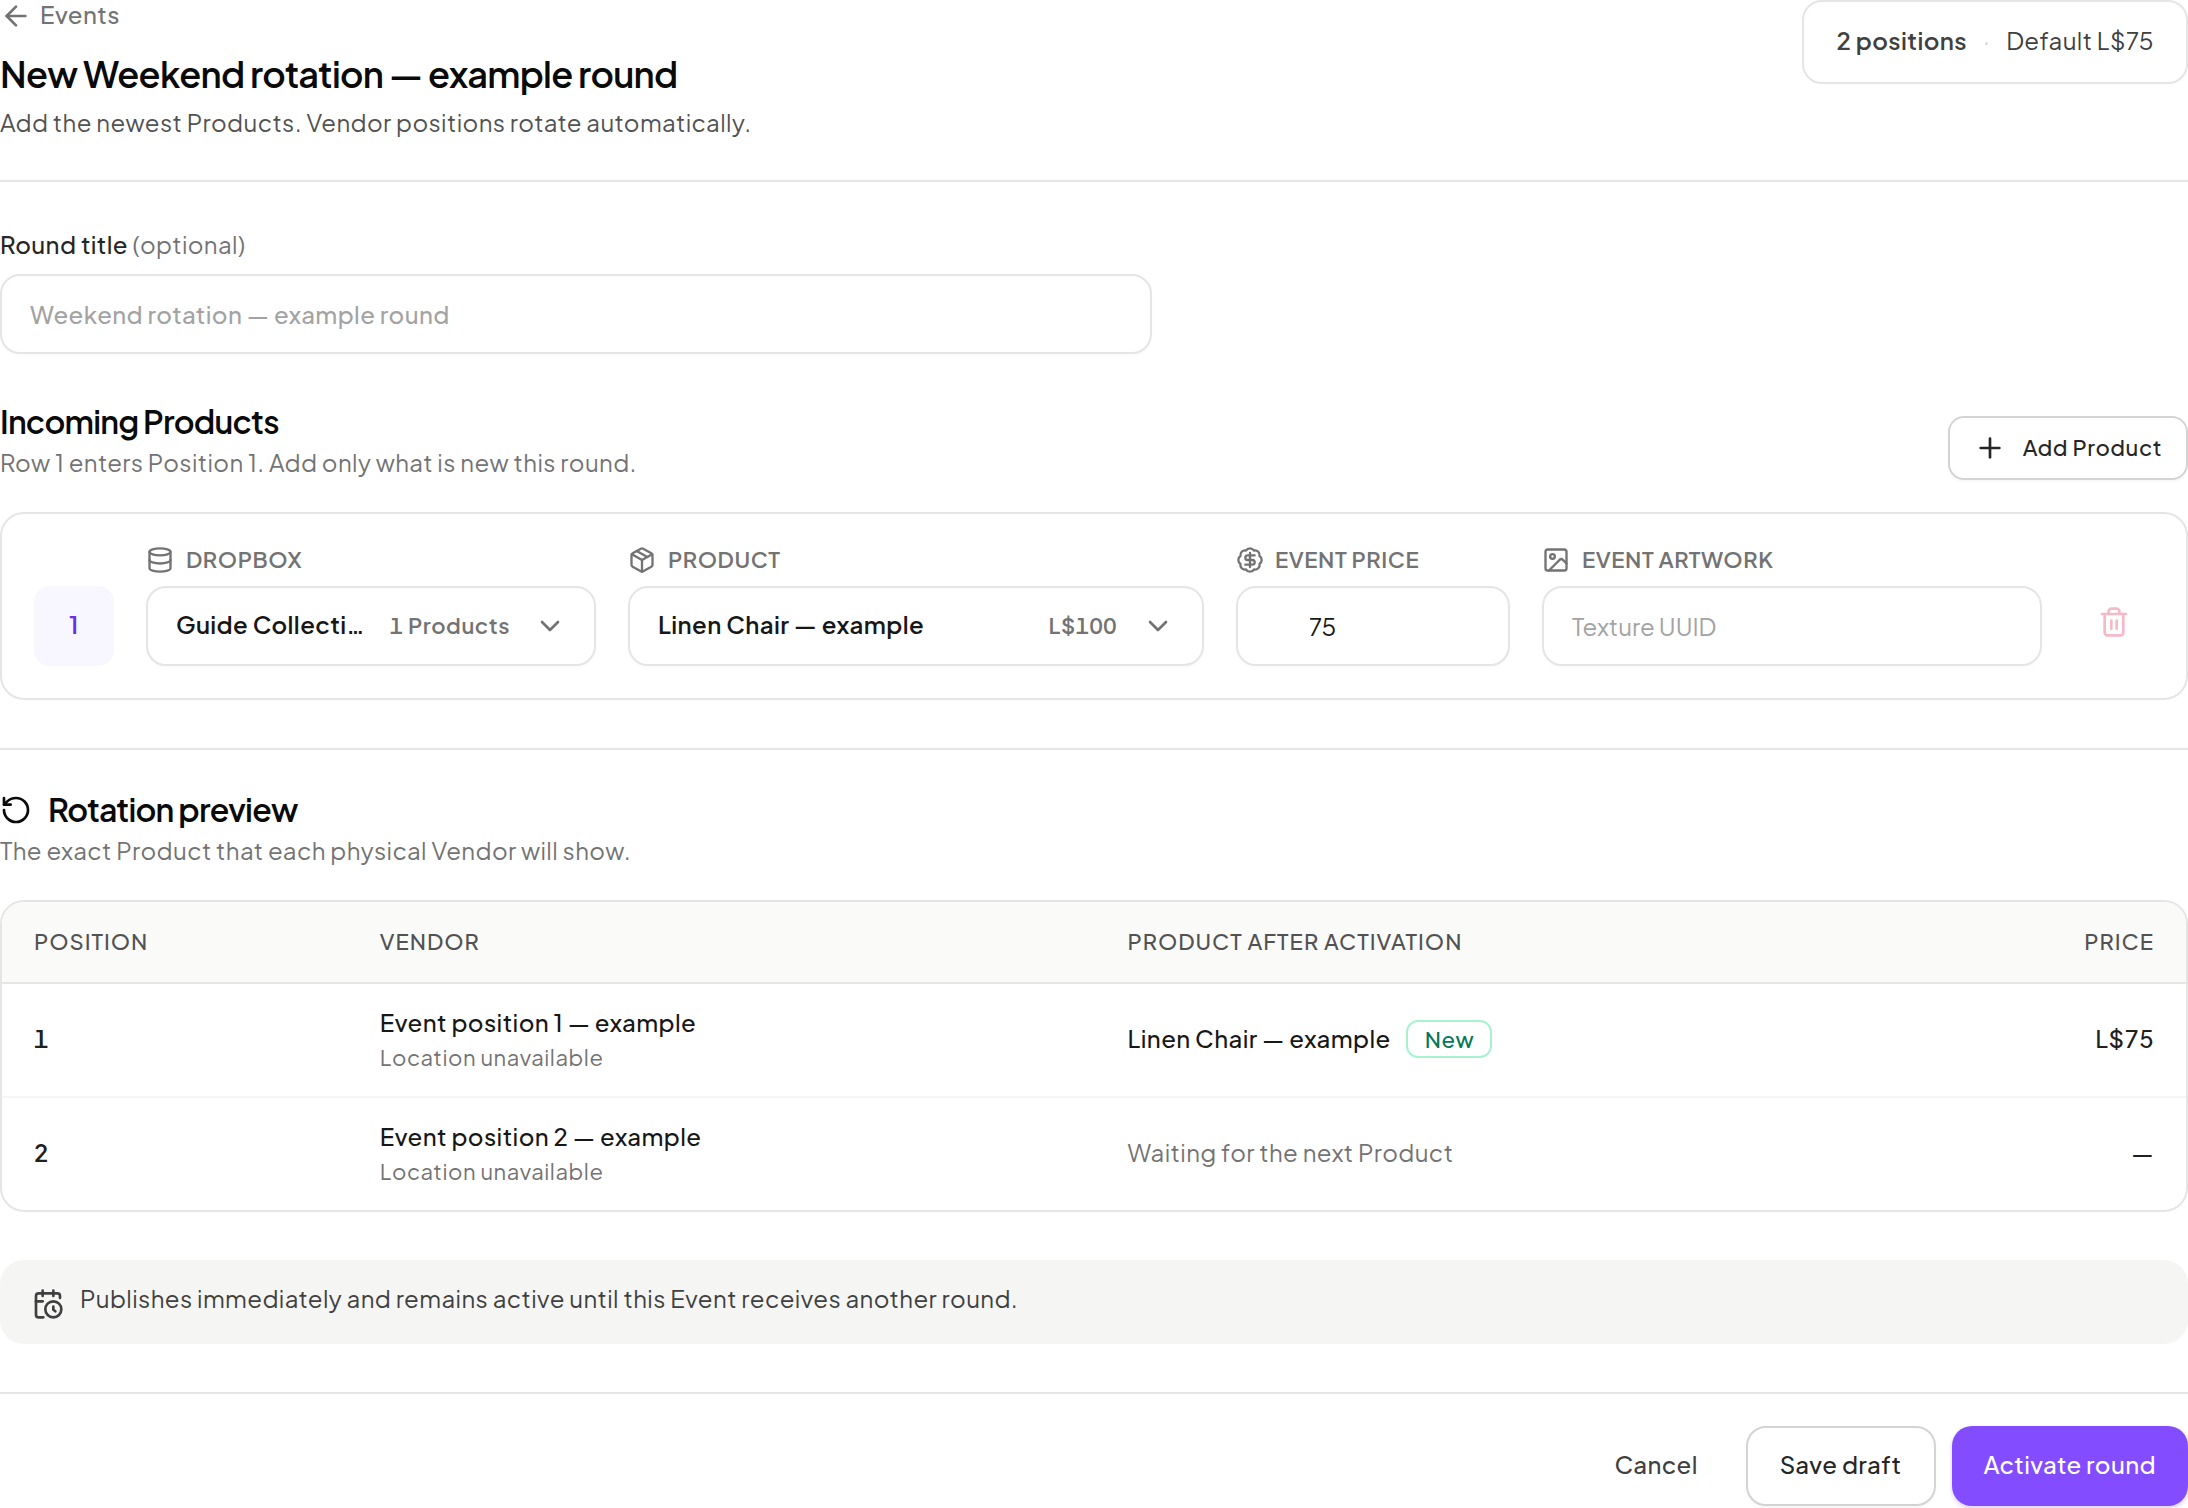
When a round brings in K new Products, they occupy the first K positions and push older Products down by K places. Products that move beyond the last position leave the wall; their catalog and sales history remain.
Step 5: Publish and verify
Use Save draft if you are still preparing the round. Confirm the affected objects, order, Products, artwork, prices and timing before using Activate round for a manual Event or Schedule round for a recurring Event. A recurring round follows the configured occurrence; a manual round activates immediately.
Inspect the actual in-world wall after it synchronizes. Verify that each display's Product, artwork and customer quote agree. An offline object may need to reconnect before showing its latest configuration.
Changes to future configuration do not rewrite a completed sale or its financial policy. Use the Event and round status to manage later changes, and Finance to inspect the resulting sales.