Set up a Vendor object
Complete Dropbox setup and create your Product first. Use the same owning avatar for the CaveTech account and the store objects.
Step 1: Rez the Vendor
- Rez the supplied Vendor object on your store land.
- Keep its current CT_Vendor.lsl script installed and running.
- Accept the owner's debit permission request when prompted.
- Wait for registration to complete.
Debit permission allows the Vendor to make the refunds and authorized transfers required by its payment flow. Without it, payment handling is incomplete. Check that the request belongs to your intended CaveTech Vendor object before accepting it.
Step 2: Choose the display type
If you configured multiple Vendor types in Vendor → Settings, choose the matching type when the new object asks. A type identifies the prim and face used for artwork; it is not a Product category.
With one configured type, it is selected automatically. Without a configured placement, the system uses its root-prim fallback. See Vendor types and textures before placing artwork on a multi-prim display.
Step 3: Assign the Product
You can assign a Product through the web dashboard or the authorized in-world management menu.
In the dashboard:
- Open Vendor → Vendors.
- Find your object and open Edit.
- Select the intended Product.
- Review the price, discount and customer options.
- Save the changes.
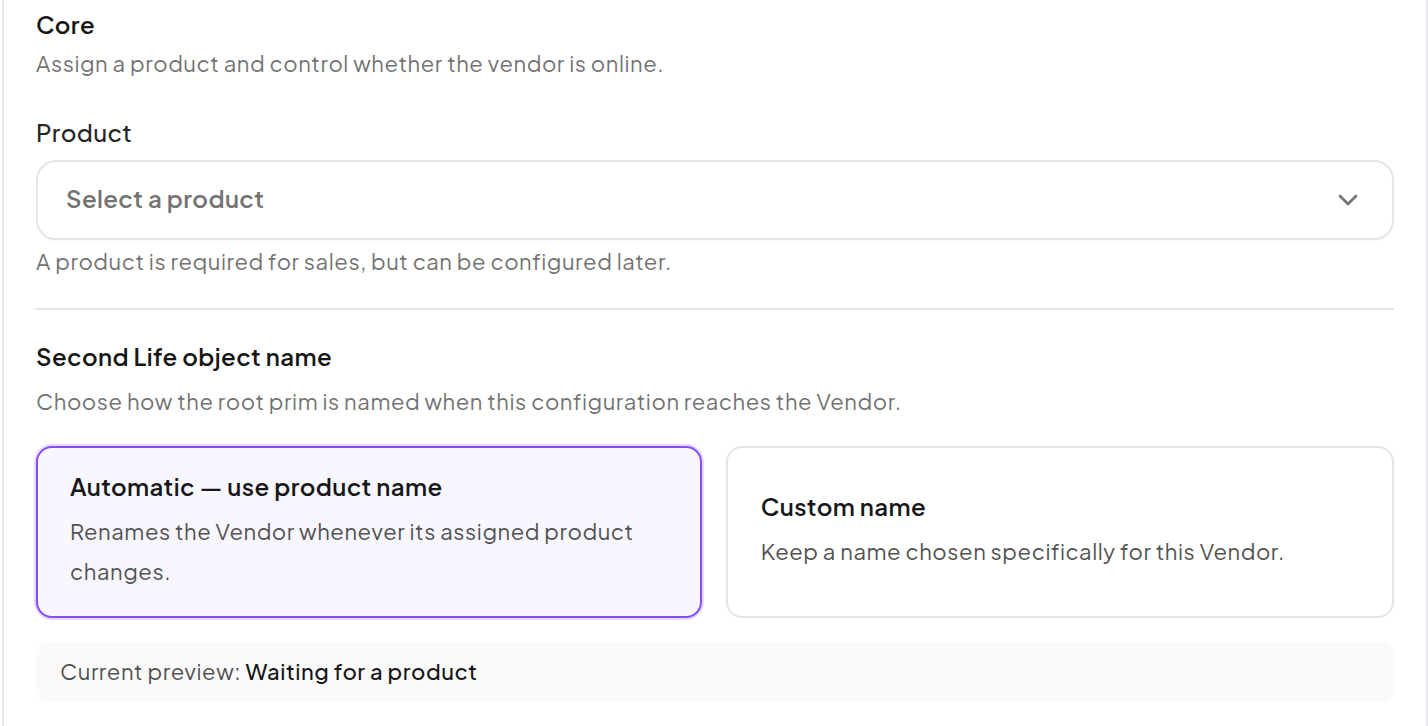
In Second Life: touch the Vendor as its owner and use Set product in its management flow. Search/select the intended Product and confirm the selection. This option is not a customer purchase action.
Step 4: Check price and availability
- Confirm the regular Product price and any intentional override.
- Leave the Vendor's offline setting off when it should accept purchases.
- Confirm that the assigned Product is inside its sale window and has available stock.
- Confirm that its Dropbox is reachable.
- If using a group-specific price, set the correct active Second Life group on the object and test with the customer's group active too.
A saved dashboard change is applied to the object as it communicates with the service. If the object is temporarily unreachable, allow it to reconnect and refresh before judging the in-world result.
Step 5: Test with another avatar
Pay the exact displayed amount once, confirm delivery, and inspect Finance → Sales. The first-store checklist explains the complete acceptance sequence.
For day-to-day editing, grouping and bulk actions, continue to Vendors and groups.