Initial Setup
After purchasing the CaveTech Rental System, you'll need to set up your account and system components. This guide will walk you through the initial setup process.
Package Overview
The CaveTech Rental System includes several components that work together to manage your rental properties:
- HUD Controller: Main interface for managing the entire system
- Land Information Panel: Automated information signs for your lands
- Payment Terminal: Terminal for processing rental payments
- Landbook: Customizable web catalog to display your available properties
Step 1: Wear the HUD Controller
Your first step should be to wear the HUD Controller. This will allow you to:
- Register for a new CaveTech account
- Recover your password if you already have an account
- Access all system management functions
To wear the HUD:
- Locate the "CaveTech - HUD Controller" in your inventory folder
- Right-click on it and select "Wear" or simply drag it onto your avatar
- The HUD will attach to your screen and initialize

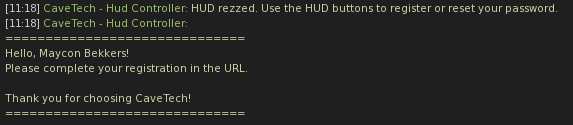
Step 2: Register Your Account
After wearing the HUD, you'll need to register for a new account. The registration process is simple and secure:
- Click on the "Register" button on the HUD
- The system will automatically:
- Capture your avatar name
- Generate a unique avatar key (UUID)
- Send this information to our registration server
- You'll receive a chat message with a registration URL
- Click the URL to open the registration form in your browser
- Complete the three-step registration process:
- Step 1: Verify your avatar name (pre-filled)
- Step 2: Enter your email address
- Step 3: Create and confirm your password

For detailed registration instructions, see our Account Registration guide.
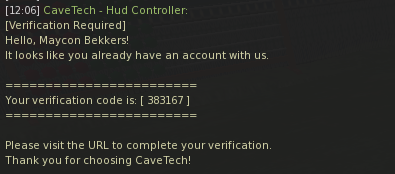
Step 3: Password Recovery (If Needed)
If you forget your password, the recovery process is simple:
- Click the "Reset Password" button on the HUD
- You'll receive a verification code via chat
- Access the provided link and enter the verification code
- Set a new secure password
- Log in with your new password

For a complete guide on password recovery, see our Password Recovery page.
Step 4: Set Up the Payment Terminal
The Payment Terminal is essential for processing payments from your tenants:
- Locate the "CaveTech - Payment Terminal" in your inventory folder
- Drag the terminal to an accessible location on your land
- When prompted, grant debit permission so the terminal can process payments
- The terminal will automatically link to your CaveTech account

For detailed instructions, see our Payment Terminal Setup guide.
Step 5: Set Up the Land Information Panels
The information panels are the main component for managing your rental lands:
- Locate the "CaveTech - Land Information Panel" in your inventory
- Drag the panel to the land you want to manage
- The panel will position itself automatically and begin collecting data
- The panel will automatically register the land information with the CaveTech server
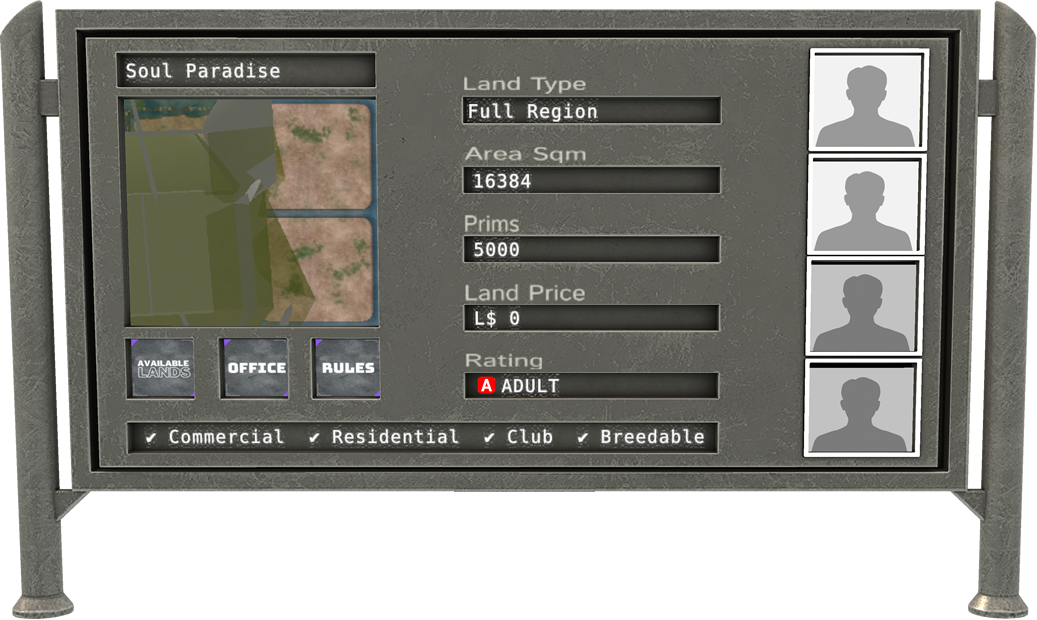
The panel will automatically collect:
- Island name (Region Name)
- Region type (Mainland, Homestead, etc.)
- Land area in square meters
- Available prim limit
- Island rating (General, Moderate, Adult)
- Location on the Second Life map
For additional configuration and details, see our Land Setup guide.
Step 6: Customize Your Landbook
The Landbook is a customizable web catalog that displays all your available properties:
- Access the CaveTech Admin Panel
- Navigate to "Landbook" > "Settings"
- Customize your Landbook with:
- Your company logo and name
- Custom color scheme
- Contact information
- Property listing layout

For complete customization details, see our Landbook guide.
Automated Workflow
Once set up, the CaveTech system automates the rental process:
- Visitors view your properties through information panels or Landbook
- When a tenant purchases the land, the system:
- Automatically sends a welcome message with instructions
- Shares your office address for rent payment
- Updates the status in the database
- Configures access permissions
Next Steps
After completing your initial setup, continue with:
- Account Registration - Set up your landlord account
- Password Recovery - Learn how to reset your password
- Payment Setup - Configure your payment terminal
- Land Setup - Set up and configure your rental properties
- Landbook - Configure your web-based property catalog
If you encounter any issues during setup, please contact support.